
How We Finish a Basement in the Denver Area: 12 Steps
Every basement we finish at Gribbons Group Corp follows the same 12 steps in the same order: plans, permit, framing, the mechanical trades, inspections, drywall, finishes, paint, and close-out. Below is each step in plain terms, so you know what’s happening in your basement and what comes next.
Still deciding what to put in the space? Start with our main Denver basement finishing page. Ready to talk about your project? Call (720) 223-9003.
The 12 Steps at a Glance
- Measure and lay out the space; get renderings and plans from the designer and architect.
- Get the plans approved, pay the fees, and pull the permit.
- Framing and subfloor, plus any engineer-approved egress cuts, with new windows or doors installed and waterproofed.
- HVAC goes in.
- Plumbing goes in.
- Electrical goes in.
- Insulation, draftstopping, vapor barrier, and fire blocking.
- Rough inspections.
- Drywall: hang, tape, mud, sand, and texture.
- Cabinets, doors, trim, tile, and countertops.
- Paint, near the end, so every finish can be caulked in first.
- Trades final out, then final inspections, touch-ups, your sign-off, and permit close-out.
Here is what happens at each step.
1. Measure, Lay Out the Space, and Get Plans
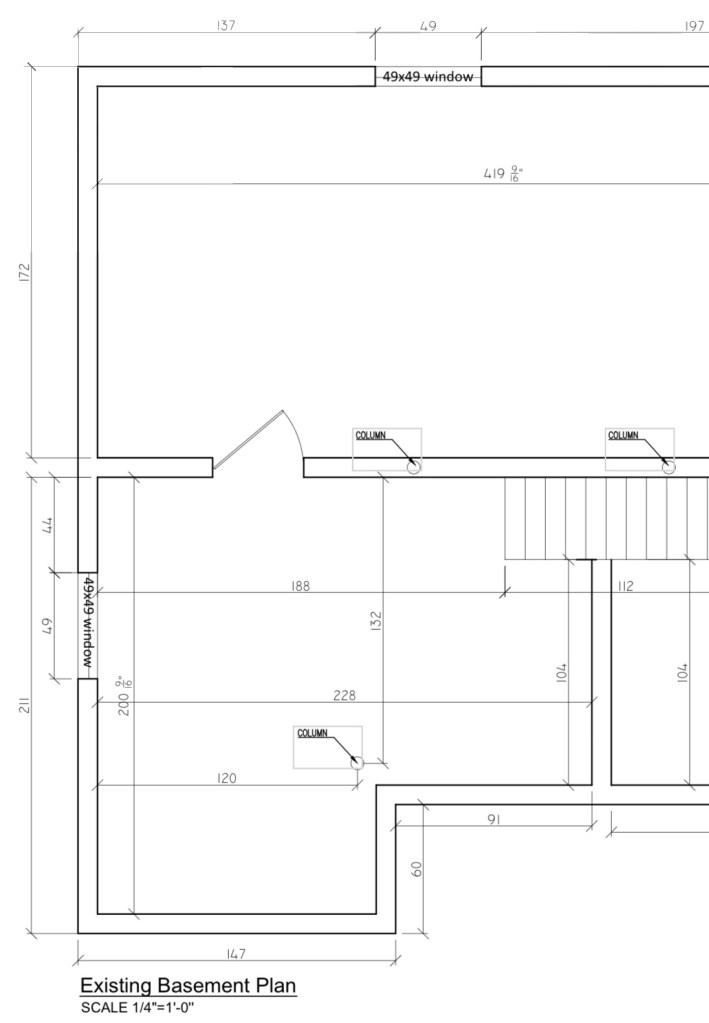
Every job starts with a tape measure. We measure the basement and lay out the space: where the rooms, bathroom, closets, and open areas will go, and how they fit around what’s already down there.
Then we consult with the designer and architect to get renderings and plans. The renderings let you see the finished space before we build it. The plans are what the permit office reviews in step 2, so they need to be right before anything else happens.
2. Pull the Permit
We handle this step for you: the application, the fees, and the back-and-forth with the permit office. We confirm which office has jurisdiction for your property, and the license it requires, before anything is drawn.
What does a basement permit cost? In our experience, permits for basements in the Denver area run from about $500 up to several thousand dollars, depending on the city and the overall job cost. Which office issues your permit depends on where the property sits, and every jurisdiction handles review and fees its own way.
3. Framing, Subfloor, and Any Egress Cuts
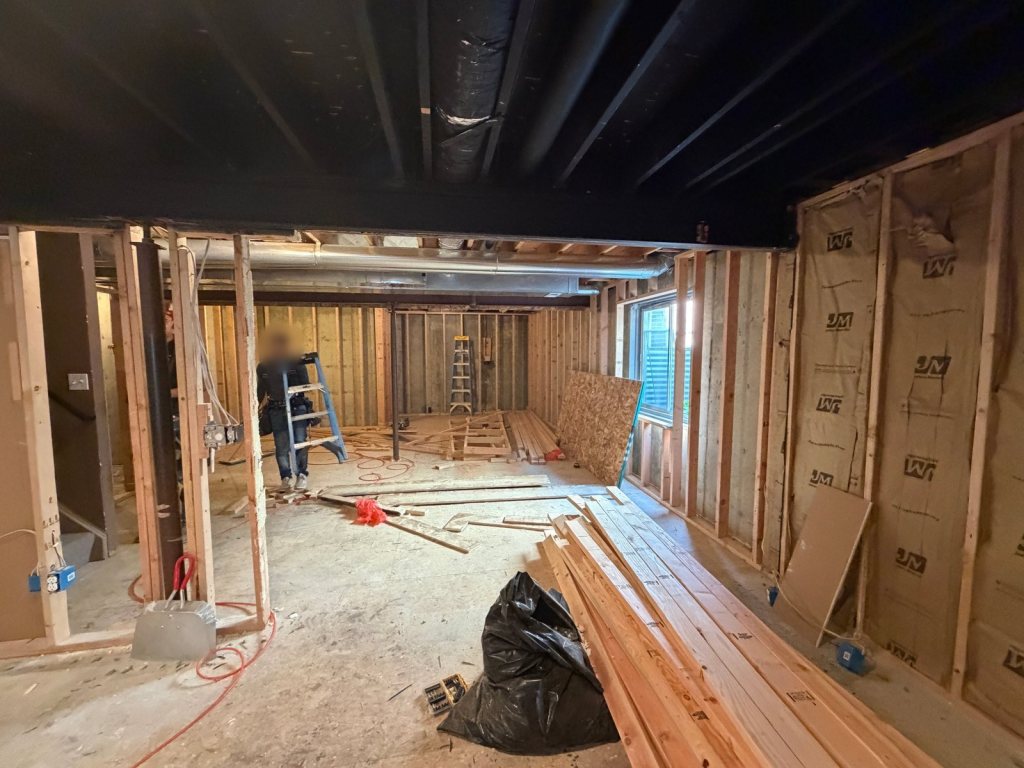
With the permit approved and in hand, framing and subfloor begin. Not before. Framing is where the layout from step 1 turns into real walls, and the subfloor goes down at the same stage.
If your plan needs egress windows or doors, we bring in an engineer. The engineer’s letter and stamp are needed to approve cuts in the foundation. Those cuts happen at this point in the job, and any new windows or doors are installed and waterproofed right away, while the basement is still open.
4. HVAC
Once the walls are framed, the mechanical trades come in. HVAC goes in first: the ductwork that will heat and cool the new rooms.
5. Plumbing
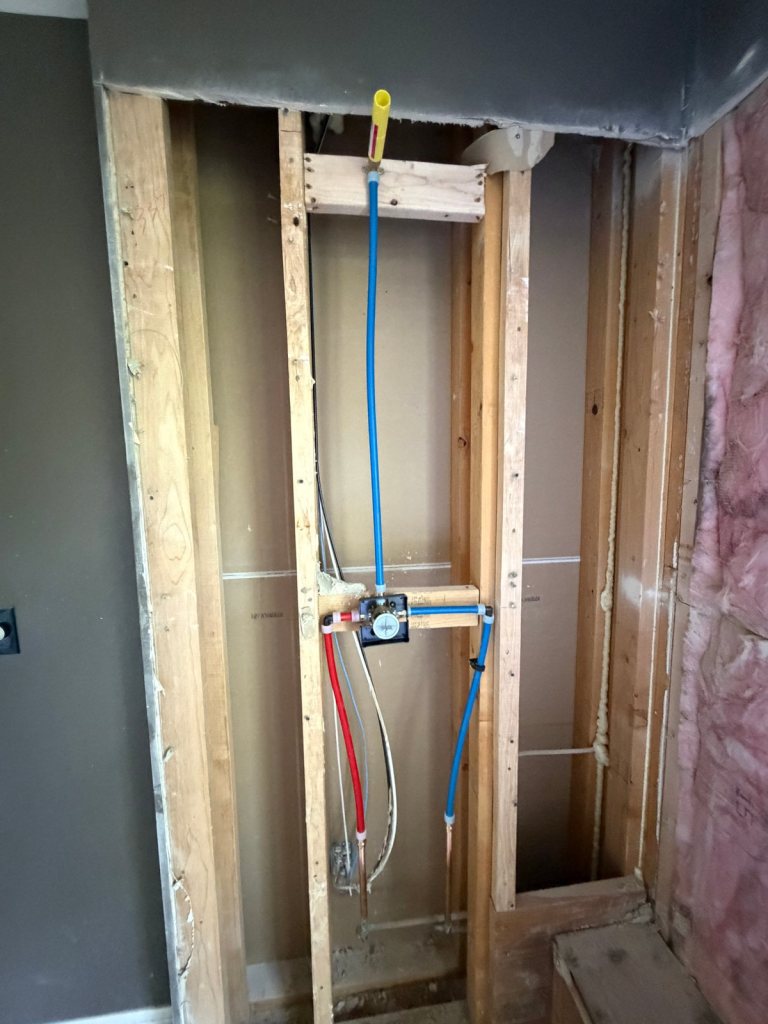
Plumbing goes in after HVAC. Supply lines, drains, and vents get run for any bathroom, bar sink, or laundry in the plan, and valves like the shower valve get set in the framing.
6. Electrical
Electrical goes in after plumbing. The electrician sets boxes for outlets, switches, and lights, and runs wire through the framing.
7. Insulation, Draftstopping, Vapor Barrier, and Fire Blocking
With HVAC, plumbing, and electrical roughed in, we install insulation, draftstopping, vapor barrier, and fire blocking. It all goes in before the rough inspections, because most of it gets inspected in step 8.
8. Rough Inspections
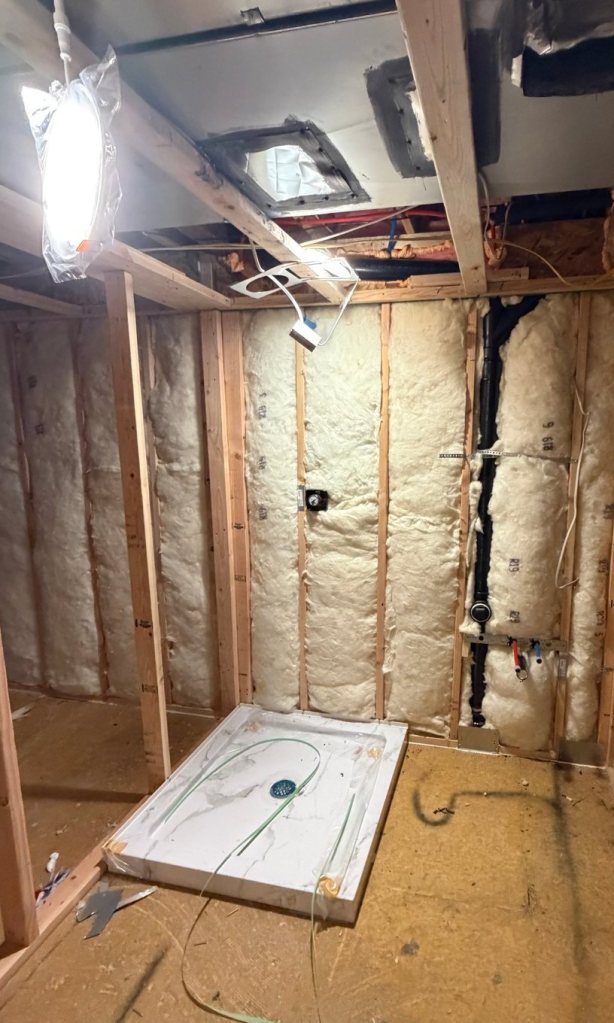
Before any drywall goes up, the inspector checks everything that’s about to be covered. Electrical, plumbing, HVAC, fire blocking, framing and draftstopping, and insulation all get inspected at this stage.
This is the inspector’s last look at the framing and rough-ins before drywall covers them. Once the roughs pass, the walls can be closed. Exact inspections vary by city and county; some add separate insulation, drywall, or shower pan inspections.
9. Drywall
Drywall goes up in five stages: hang, tape, mud, sand, and texture. The sheets get hung on the framing, the seams get taped, mud goes over the tape and screws, everything gets sanded smooth, and then the texture goes on. By the end of this step, the rooms have real walls and ceilings.
10. Cabinets, Doors, Trim, Tile, and Countertops
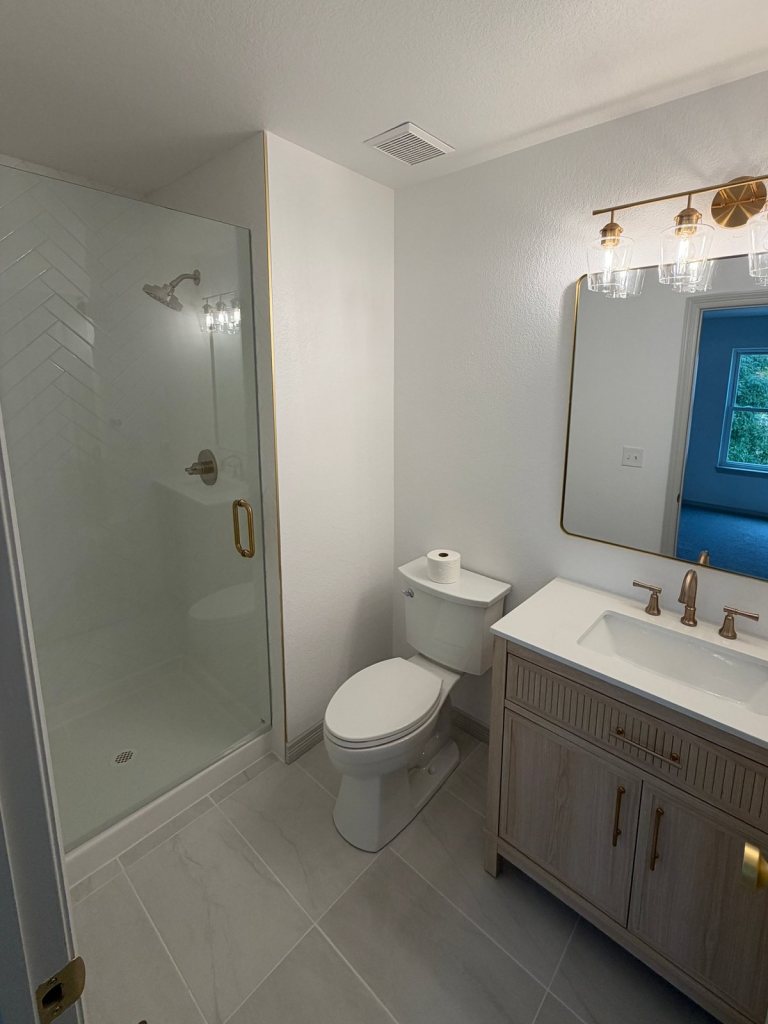
Next come the finish pieces: cabinets, doors, trim, tile, and countertops all get installed. This is where the basement starts to look like the renderings from step 1.
11. Paint
Why We Paint Near the End
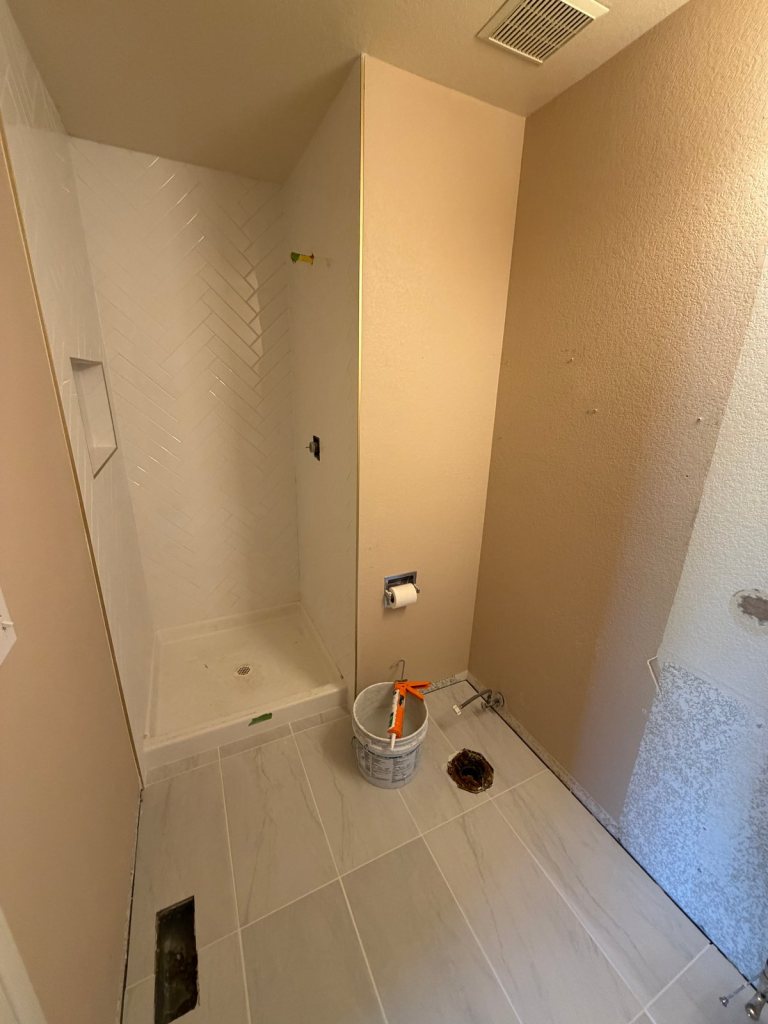
Most contractors paint earlier in the job. We don’t. GGC paints near the end, after the cabinets, tile, vanities, doors, and trim are in, so all of it can be caulked in first and then painted.
The result is a seamless look where every finish meets the wall.
12. Final Out, Final Inspections, and Sign-Off
Electrical, plumbing, and HVAC come back and final out their work. Then come final inspections, final touch-ups, your sign-off, and permit close-out.
Your sign-off comes after the final touch-ups, so you’re signing off on the finished space. With the permit closed out, the job is done.
How Long Does It Take?
Most projects take about 1 to 6 months, depending on scope.
Where We Finish Basements
We finish basements across the Denver metro. For local permitting notes, see our basement finishing pages for Highlands Ranch, Littleton, Arvada, Ken Caryl, and Evergreen, or go back to our main Denver basement finishing page.
Gribbons Group Corp is licensed & insured and holds these contractor licenses: Douglas County #A260170, Jefferson County Class B #1028872, City of Littleton #AEC002126, and City of Arvada #AEC13870.
Basement Finishing Process FAQs
How much does a basement permit cost in the Denver area?
In our experience, permits for basements in the Denver area run from about $500 up to several thousand dollars, depending on the city and the overall job cost. Getting the plans approved, paying the fees, and pulling the permit is step 2 of our process.
Do I need an engineer for an egress window or door?
If the plan calls for cutting the foundation for an egress window or door, yes. We bring in an engineer, and the engineer’s letter and stamp are needed to approve the cuts. The cuts happen in step 3, and the new windows or doors are installed and waterproofed at the same time.
When do inspections happen?
Mainly at two points. Rough inspections come in step 8, after framing, HVAC, plumbing, electrical, insulation, draftstopping, vapor barrier, and fire blocking are in and before drywall: electrical, plumbing, HVAC, fire blocking, framing and draftstopping, and insulation all get inspected. Final inspections come in step 12, after the trades final out their work. Some jurisdictions add others, such as a drywall or shower pan inspection.
Why do you paint last?
Most contractors paint earlier. We paint near the end so the cabinets, tile work, vanities, doors, and trim can be caulked in before paint, and everything looks seamless.
Do you start building before the permit is approved?
No. Framing and subfloor begin once the permit is approved and in hand.
Ready to Plan Your Basement?
Tell us about your basement and we’ll walk you through how these 12 steps apply to your project.
Call (720) 223-9003 or email sean@ggcbuilds.com.

